Comprehensive Kitchen Deep Cleaning: A Step-by-Step Guide
The kitchen is often considered the heart of the home, where meals are prepared, and memories are made. However, it can also be a magnet for dirt, grease, and grime. Regular cleaning is essential, but every now and then, your kitchen needs a deep clean to ensure it remains a healthy and inviting space. In this blog post, we’ll provide a friendly and informative step-by-step guide to deep cleaning your kitchen, helping you achieve a spotless and hygienic environment.
Why Deep Cleaning Your Kitchen is Important
Before diving into the steps, it’s important to understand why deep cleaning your kitchen is crucial. Over time, grease, food particles, and bacteria can accumulate in hidden corners and on surfaces, posing health risks and attracting pests. A thorough deep clean not only enhances the appearance of your kitchen but also ensures a safe and sanitary environment for food preparation.
Step 1: Gather Your Cleaning Supplies
To get started, gather all the necessary cleaning supplies. Having everything on hand will make the process more efficient. Here’s a list of essentials:
- All-purpose cleaner
- Degreaser
- Baking soda
- White vinegar
- Microfiber cloths
- Scrub brushes
- Sponges
- Bucket
- Mop
- Vacuum cleaner with attachments
- Rubber gloves
Step 2: Declutter and Organize
Begin by decluttering your kitchen. Remove items from countertops, cabinets, and drawers. This will give you a clear workspace and make it easier to clean every nook and cranny. Sort through your items and discard anything expired, broken, or no longer needed. Organize the remaining items into categories, making it easier to put everything back in its place once the cleaning is done.
Step 3: Clean the Cabinets and Drawers
Start with the cabinets and drawers. Empty them out completely and wipe down the interiors with a damp cloth. For stubborn stains or grease buildup, use a mixture of baking soda and water to scrub the surfaces. Don’t forget to clean the cabinet doors and handles as well. Once everything is clean, return the items to their respective places, ensuring they are neatly organized.
Step 4: Tackle the Appliances
Next, focus on your kitchen appliances. Here’s a step-by-step guide for each major appliance:
Refrigerator
- Empty the Contents: Remove all food items and place them in a cooler to keep them fresh.
- Remove Shelves and Drawers: Take out all removable shelves and drawers and wash them with warm, soapy water.
- Clean the Interior: Wipe down the interior walls and surfaces with a mixture of water and vinegar. Pay special attention to any spills or stains.
- Clean the Exterior: Wipe down the exterior, including the handles and seals, with an all-purpose cleaner.
Oven
- Remove Racks: Take out the oven racks and soak them in warm, soapy water.
- Clean the Interior: Use a commercial oven cleaner or a mixture of baking soda and water to scrub the interior surfaces. Let it sit for a while to break down the grease and grime, then wipe it clean.
- Clean the Exterior: Wipe down the exterior, including the control panel and door, with an all-purpose cleaner.
Microwave
- Remove Turntable: Take out the turntable and wash it with warm, soapy water.
- Clean the Interior: Place a microwave-safe bowl filled with water and a few slices of lemon inside the microwave. Heat it for a few minutes to create steam, which will loosen any food particles. Wipe down the interior with a damp cloth.
- Clean the Exterior: Wipe down the exterior, including the control panel and door, with an all-purpose cleaner.
Dishwasher
- Empty the Dishwasher: Remove any dishes and utensils.
- Clean the Filter: Take out the filter and rinse it under warm water to remove any debris.
- Run a Cleaning Cycle: Place a dishwasher-safe cup filled with white vinegar on the top rack and run a hot water cycle to clean and deodorize the interior.
Step 5: Clean the Countertops and Backsplash
Wipe down the countertops and backsplash with an all-purpose cleaner. For stubborn stains or grease buildup, use a mixture of baking soda and water to scrub the surfaces. Pay special attention to the areas around the stove and sink, as they tend to accumulate the most grime.
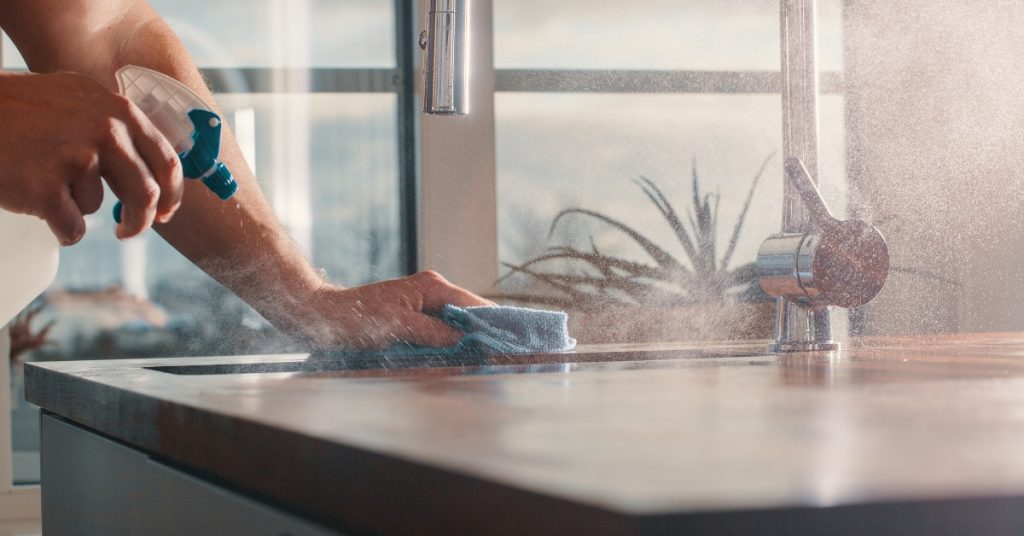
Step 6: Clean the Sink and Faucet
The sink and faucet can harbor bacteria and stains, so it’s important to give them a thorough clean. Here’s how:
- Scrub the Sink: Use a scrub brush and a mixture of baking soda and water to scrub the sink. Pay special attention to any stains or buildup.
- Clean the Faucet: Wipe down the faucet with an all-purpose cleaner. For hard water stains, use a mixture of vinegar and water.
- Deodorize the Drain: Pour a mixture of baking soda and vinegar down the drain to eliminate any odors. Follow it with hot water to flush out any remaining debris.
Step 7: Clean the Floors
Finally, it’s time to clean the floors. Here’s a step-by-step guide:
- Sweep or Vacuum: Remove any loose dirt and debris by sweeping or vacuuming the floor.
- Mop the Floor: Fill a bucket with warm water and a suitable floor cleaner. Mop the floor, paying special attention to any stains or sticky spots.
- Dry the Floor: Allow the floor to air dry or use a clean, dry mop to speed up the process.
Step 8: Final Touches
Once you’ve completed the deep cleaning process, take a moment to add some final touches to your kitchen:
- Polish Stainless Steel: Use a stainless steel cleaner to polish any stainless steel appliances or fixtures, giving them a shiny and streak-free finish.
- Replace Liners: If you use shelf liners in your cabinets and drawers, replace them with fresh ones.
- Organize: Take a moment to organize your kitchen items, ensuring everything is in its proper place and easily accessible.
Conclusion
Deep cleaning your kitchen may seem like a daunting task, but with a step-by-step approach and the right tools, it can be a manageable and rewarding process. By following this guide, you can achieve a spotless and hygienic kitchen that not only looks great but also promotes a healthy environment for food preparation. Remember, a clean kitchen is the heart of a happy home. So roll up your sleeves, put on some music, and enjoy the satisfaction of a sparkling clean kitchen!
About The Author
At Eldredge Cleaning, we offer exceptional house cleaning services that turn your home into a sparkling haven. As the trusted choice for residential cleaning in Collegeville, Malvern, Royersford, PA, and nearby areas, we provide personalized solutions to meet your unique needs. Our dedicated team ensures your home is immaculate and a place where you can relax and unwind. Whether you need weekly, bi-weekly, monthly, deep house cleaning, or move-in/move-out cleanings, we’ve got you covered.
Quote Form
"*" indicates required fields
← Next Blog Post: A Clean Start: How to Reset Your Home and Mind